Leave Transactions
From Subscribe-HR Wiki Help
Contents
[hide]Creating Leave Transactions for Employees
There are multiple of ways that Leave transactions can be created.
- Recorded Absence on the Employee File
- Employee Request for Absence
We will look at both:
Recording an Absence on the Employee File
- After logging into the Subscribe-HR portal, select the Human Resources TAB.
- Select the Employee folder.
- Select the desired employee.
- Select the Absence sub-folder.
- Select the create button.
- Select the Start Date of Absence.
- Select the Finish Date (return date) from Absence.
- Select the Absence Reason Selecting Annual Leave or Sick Leave will deduct the appropriate amount.
- Select the Unpaid Leave option if this leave is to not deduct any amounts.
- Select the Absence Status.
- Select the Save button.
Note: Any attachments will be able to be added after the Absence record has been saved.
Employee Request for Absence
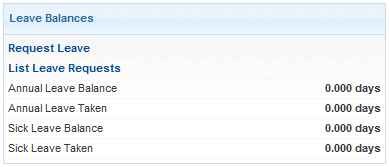
- After the Employee logs into the Self Service module of Subscribe-HR, the employee can select Request Leave from the Dashboard

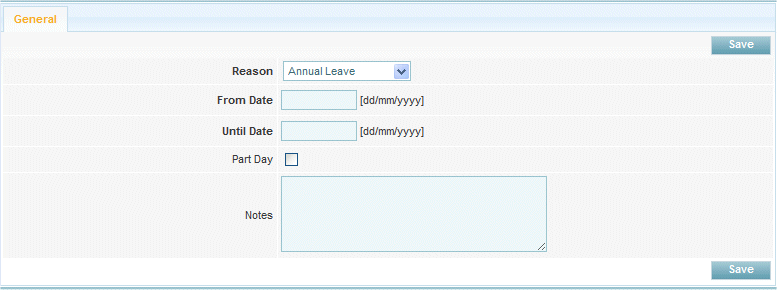
- The employee is directed to the Request Leave screen

- Select the Reason for leave.
- Select the From Date using the date picker.
- Select the Until Date using the date picker.
- Select the Part Day check box if it is a request to leave for part of the day.
- Enter any notes regarding the leave request.
- Select the Save button.
Note: After the employee has requested leave, the leave record is created in the Employees Absence folder, and the manager notified of the request.