Expenses
From Subscribe-HR Wiki Help
| Line 32: | Line 32: | ||
<tr> | <tr> | ||
<td width="232">Type</td> | <td width="232">Type</td> | ||
| − | <td width="458">The Expense type that is being claimed</td> | + | <td width="458">The Expense type that is being claimed. If you want to update or add to the options available in this Drop-Down option, please do so in the Code Library</td> |
</tr> | </tr> | ||
<tr> | <tr> | ||
Revision as of 01:12, 15 March 2012
Employee Expenses
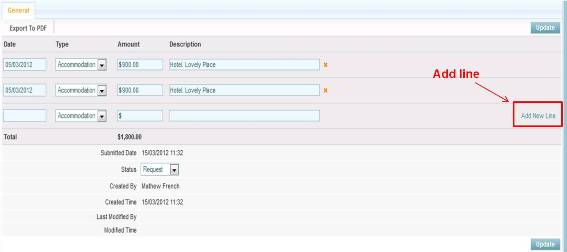
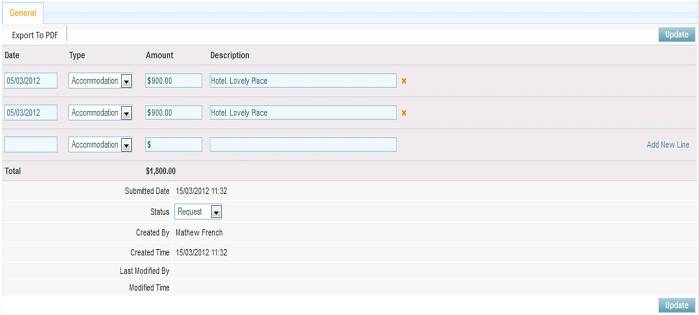
The Employee Expenses Form:
Creating Work Expenses Records
- After logging into Subscribe-HR, select the Human Resources TAB.
- Select the Employee folder.
- Select the desired employee.
- Select the Expenses Claim Form sub-folder.
- Select the create button.
- Fill in the fields. Date: Type: Ammount: Description.
- If you would like to add another Expense, click "Add New Line" on the bottom right of the form.
- Select the Submit or Update button.

Mandatory fields are marked in bold, the record will not be saved unless mandatory fields are filled in first.
Expense Fields Explained
| Field Name | Description |
| Date | The date of the Expense |
| Type | The Expense type that is being claimed. If you want to update or add to the options available in this Drop-Down option, please do so in the Code Library |
| Amount | Dollar Amount of the Expense |
| Description | Type in details about the Expense |
| Total | Total Expense Claim |
| Submitted Date | Date the Expense was Submitted for Authorisation |
| Status | Whether the status is "Request", "Rejected", "Authorised", "Cancelled". |
Note: If you are using the Expense Form to submit Authorisation to Managers (Employee to Manager), please activate the relevant Workflow/s. Speak to your Account Manager about this.

![]()