Difference between revisions of "Clients-adding-clients"
From Subscribe-HR Wiki Help
| Line 21: | Line 21: | ||
<td width="484"><b><font face="Arial" size="2">Description</font></b></td> | <td width="484"><b><font face="Arial" size="2">Description</font></b></td> | ||
</tr> | </tr> | ||
| − | |||
| − | |||
| − | |||
| − | |||
<tr> | <tr> | ||
<td width="206">Client Name</td> | <td width="206">Client Name</td> | ||
Revision as of 04:36, 25 March 2011
Adding New Clients
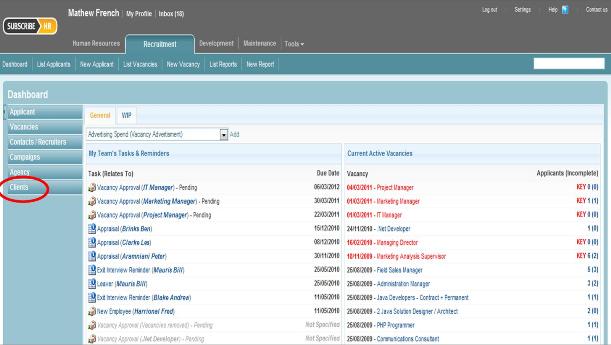
Adding new Clients is used by Recruitment Agencies to record information about their customers. Once a Client has been added into the Clients Folder, the user can then link the client to a Vacancy.
Creating Client
- After logging into the Subscribe-HR.
- Select the Recruitment Module.
- Select the Clients Folder
- Select the Create button.
- Fill in the fields.
- Select the Save button.
Mandatory fields are marked in bold, the question will not be saved unless mandatory fields are filled in first.
Client Fields and Contact Details Tab Explained
| Field Name | Description |
| Client Name | The Clients Name - This is a Mandatory Field |
| Client Contracts | You can Link Client Contract Details here. Multiple Attachment can be linked and then Accessed |
| Contact Details Tab | This is where the specific contact details go for the Client |
| Key Contac | Key Person you liaise with at the Client |
| Phone | Phone Number goes here |
| E-mail address goes here | |
| Address 1 | First Lines of Address to go here |
| Address 2 | Second Line of Address to go here |
| Suburb | Suburb to go here |
| State | Select State from the Drop Down Field |
| Post Code | Enter Post Code here |
